By Connor Noll
Illustrations by Joe Scordo
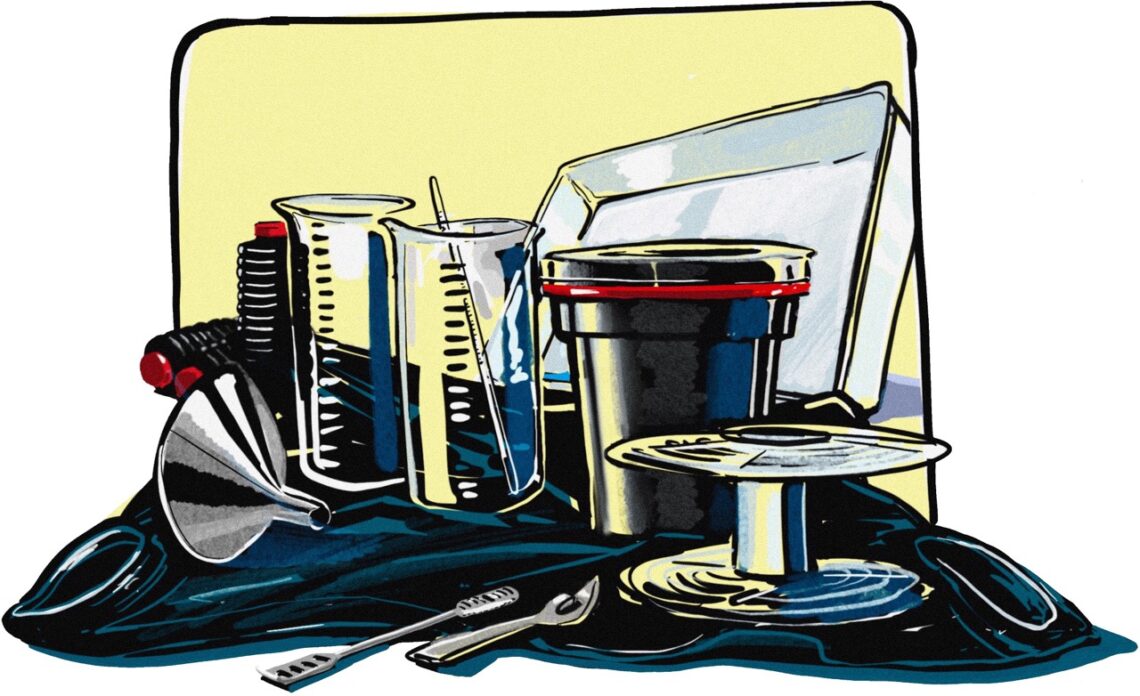
Developing Supplies: there are endless options/combinations for these things so I’ll list what is needed and then a personal recommendation but you don’t need to get these exactly.
- Developing tank: Paterson Super System 4 Universal Developing Tank
- Film Processing Reels: Paterson Auto Load Reels
- Can Opener: Any generic Can opener
- Film Loading Bag or room that is 100% pitch black: Sensai Large Changing Bag
- Graduates with ml measurements (at least 2): Patterson 600 ml graduates
- Something to mix chemistry with: Paterson Mixing Stirrer
- Darkroom Thermometer: Paterson Thermometer
- Funnel: Any generic funnel
- Storage Bottles (x3-4): Kaiser Accordion Storage Bottle (550-1000ml)
- Large bin (big enough to fill with water and half submerge the chemicals
and developing tank): Any plastic bin that can hold water (OPTIONAL
BUT RECOMMENDED)
Chemicals: There are a lot of different options for chemicals, some can render different results. I’ve found that Sprint chemicals give neutral results and are easy to use.
Developer: This chemical is what makes the emulsion on the film turn into the image. Rec – Sprint Standard Developer
Stop Bath: The longer the film is exposed to the developer, the darker it gets, the stop bath, stops the films reaction to the developer so that it doesn’t get too dark. Rec – Sprint Stop Bath
Fixer: This chemical finalizes the negative, making it permanent and archival. After being fixed, the film is no longer sensitive to light. Rec – Sprint Fixer
Fixer Remover (Optional): This chemical removes any contamination that is left on the film. Not required but recommended. Contamination can cause the film to deteriorate. Rec – Sprint Fixer Remover
Wetting Agent: This is basically soap for the film to make sure there aren’t any chemical stains. Rec – Kodak Photo-Flo
*For best results mix chemicals with distilled water* (Not required)
PREP / Mixing Chemistry:
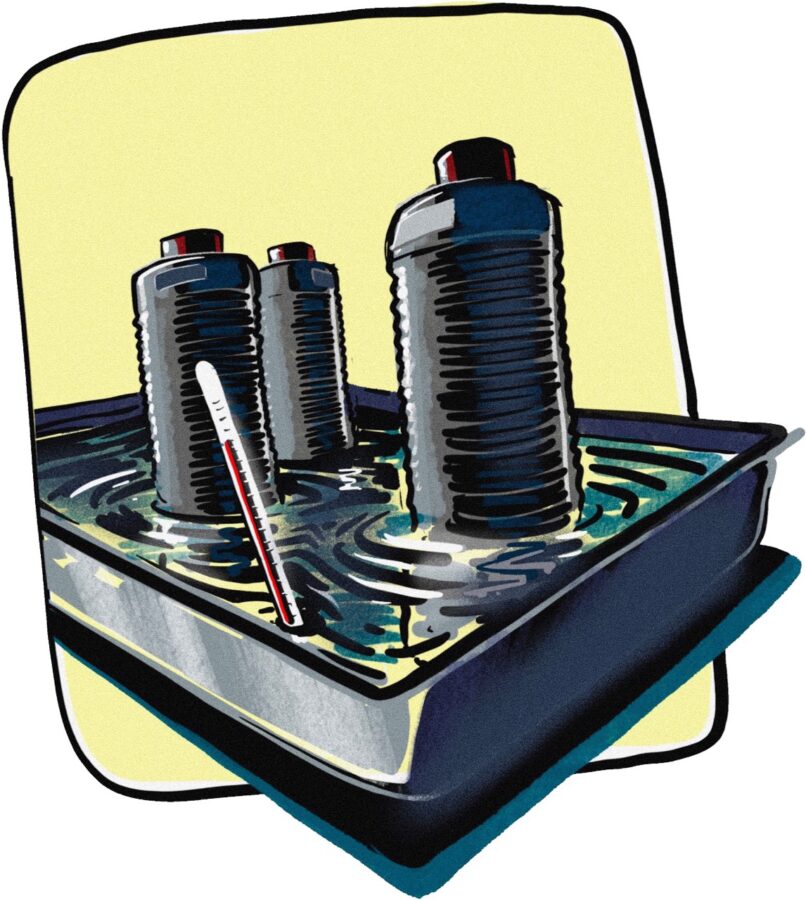
Mix all the chemistry as instructed, I recommend sprint chemistry because of its easy mixing process. Pour each mixed chemical into its own marked storage bottle. (If you bought a large bin, fill it with 70 degree fahrenheit water and put all of the filled storage bottles into it, this will act as a temperature control bath.
Loading Your Film:
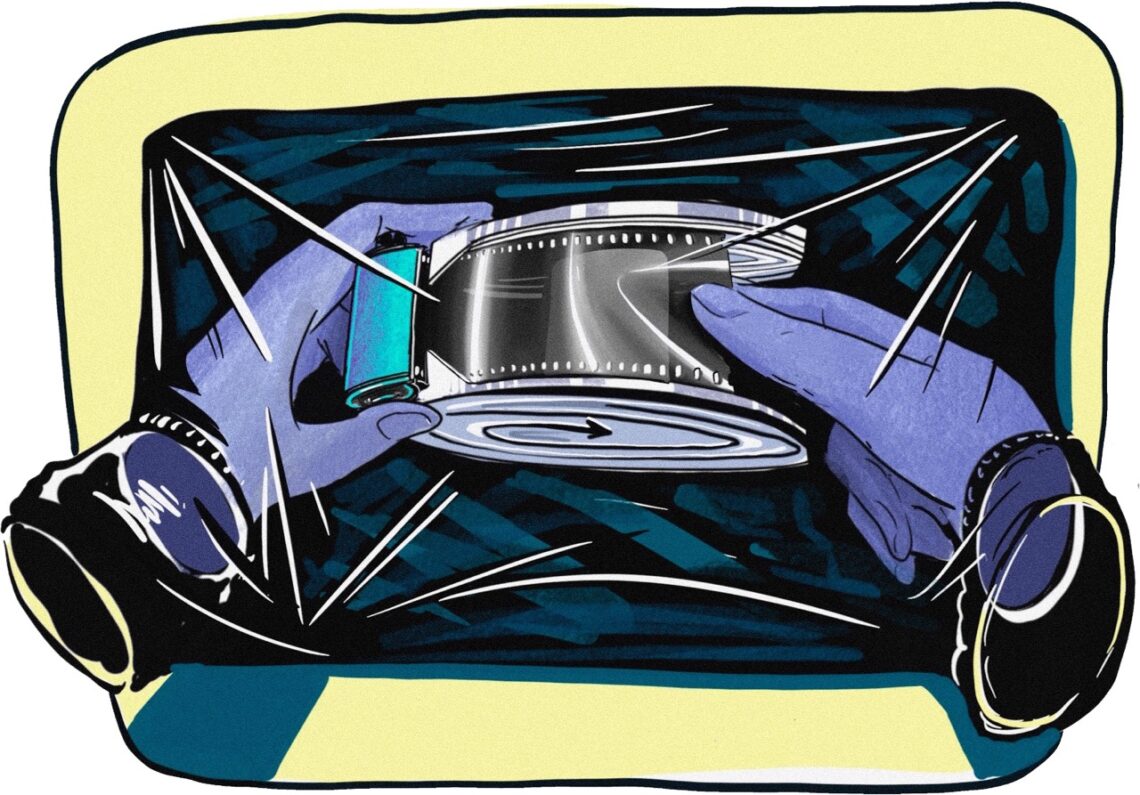
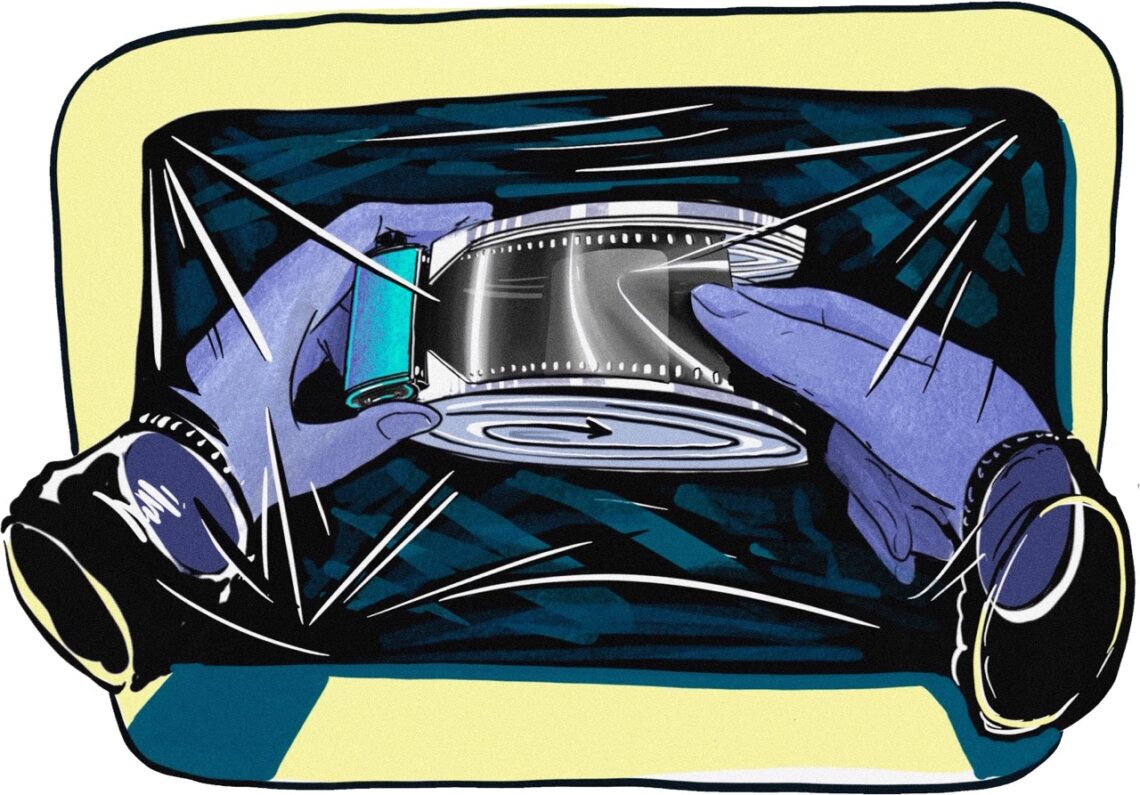
Using either a film loading bag or in a 100% pitch black room, load your film onto the reels and put it into the developing tank. The developing tank is light tight, so you can bring that into the light. Now you’re ready to start processing.
Processing:
Start by checking that all of your chemicals are at 68 degrees fahrenheit. If they aren’t, get them there by submerging the bottles in hot or cold water.
Step 1:
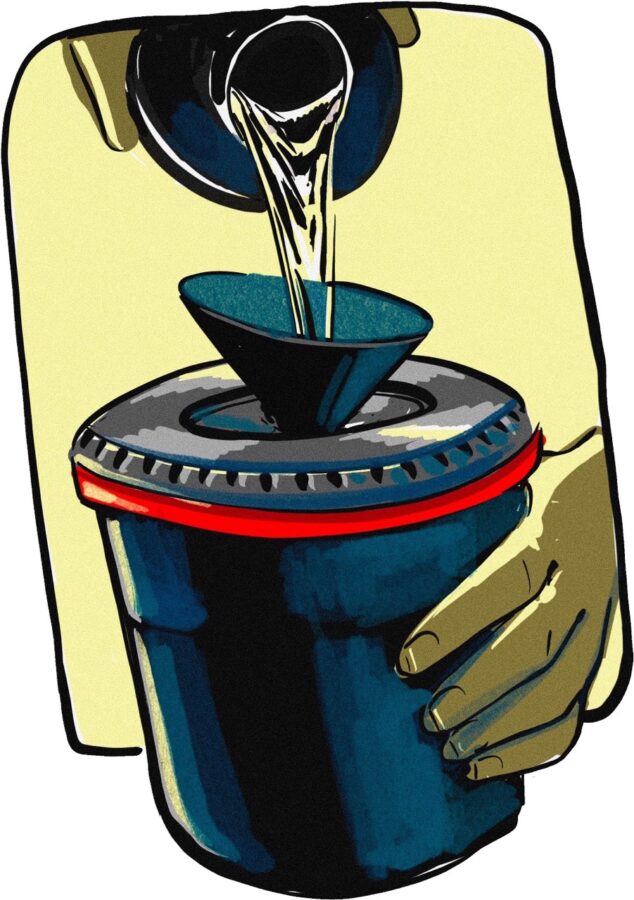
Prewash (1 minute): Pour 68° water into the tank and let it sit for 1 minute, dump down drain.
Step 2:
Developer (Time changes based on film/developer): Find your development time by cross referencing your film type with the developer you’re using. It should be easy to find online.
Agitation: Agitate the tank by flipping it upside down and back. Agitate for the first 30 seconds and then repeat for 10 seconds every 30 seconds until the time is done. (You can dump used developer down the drain in most places. There’s certain types of plumbing that it’s worse for, do your research.)
Step 3:
Top Bath (1 minute): Pour your stop bath into the tank as quickly as you can after emptying the developer. Agitate for the first 30 seconds and then repeat for 10 seconds every 30 seconds until the time is done. Dump stop bath back into bottle, it can be reused.
Step 4:
Fixer (6-8 minutes): Pour the fix into the tank and agitate for the first 30 seconds and then repeat for 10 seconds every 30 seconds until the time is done. Dump back into the bottle, it can be reused. (Fixer can never go down the drain so make sure you do your research on how to dispose of it when you’re finished.)

Step 5:
Wash: Fill and dump with 68° water 6 times.
Step 6:
Fixer Remover (3 minutes): Pour the fixer remover into the tank and agitate for the first 30 seconds and then repeat for 10 seconds every 30 seconds until the time is done. Pour fixer remover back into the bottle, it can be reused. If you chose not to get this chemical, skip this step.
Step 7:
Final Wash (6:30 minutes): Fill and dump 5 times with 68° water. Put under running 68° water for the remaining time.
Step 8:
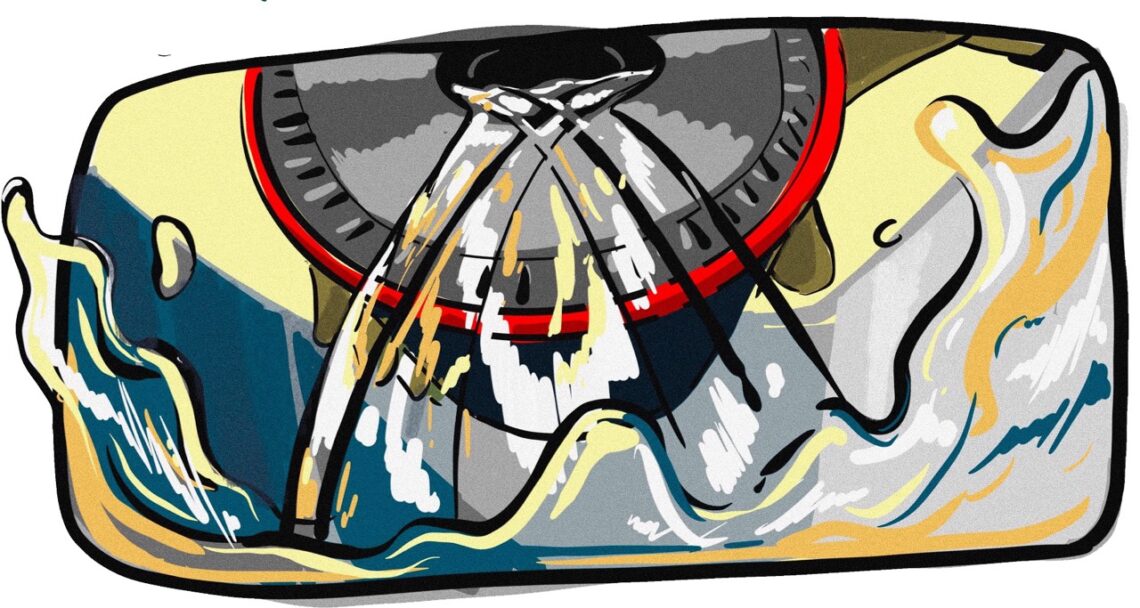
Photo Flo (1 minute): Pour photo flo into tank. Agitate for the first 15 seconds. Dump photo flo down the drain.
Step 9:
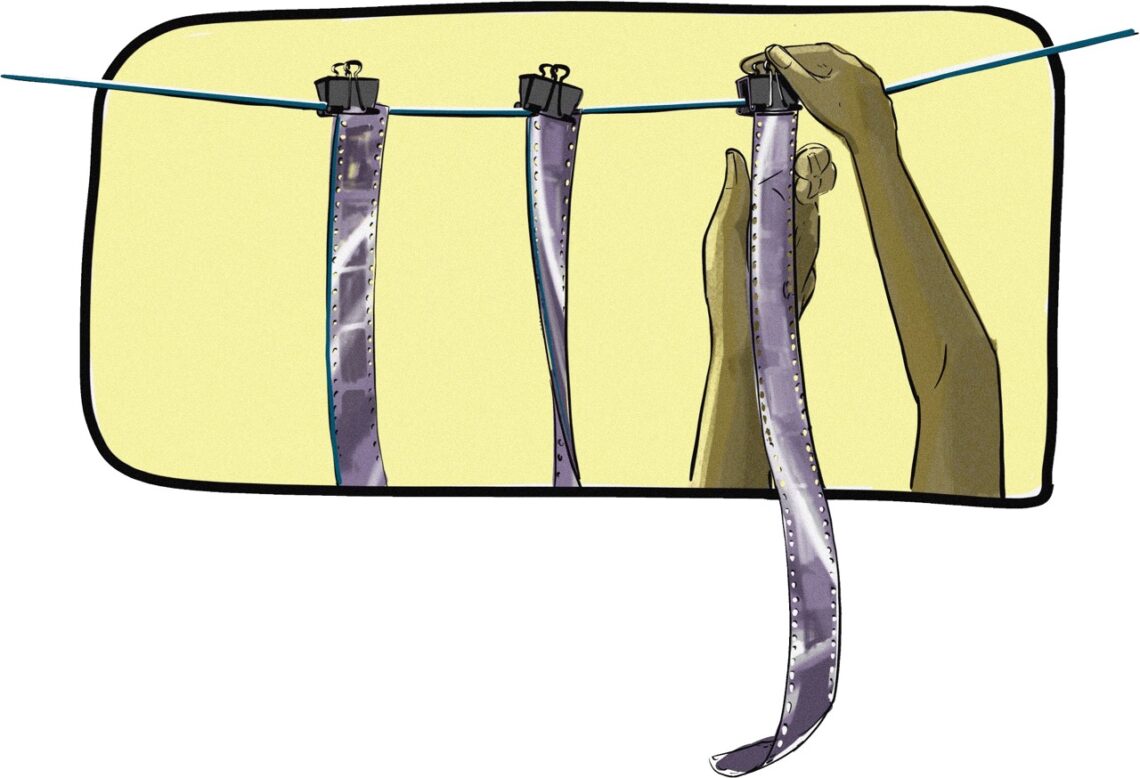
Open tank and remove film from the reels. Hang your negatives to dry. (If hanging in a bathroom, run the shower really hot for 10 minutes before you hang them. It helps with dust in the air.)
Step 10:
After your negatives are dry, they’re ready to be scanned or printed. If you don’t have a film scanner or don’t want to buy one, look into your local lab and their scan only prices.
If you send your negatives to my lab, Panopticon Imaging and mention this article, I’ll scan your first 2 rolls for free 🙂
– Connor
